
There’s a standard set of items you should verify during your sign inspection: structural supports, mounting hardware and clearances, corrosion and fastener integrity, electrical wiring, grounding and lamp operation, weatherproofing and ingress protection, visibility and legibility, required permits and emergency shutoffs, anchorage to building or ground, and documentation of defects and corrective actions to maintain safety and code compliance.
Key Takeaways:
- Structural integrity: inspect supports, poles, anchors, fasteners, foundations, corrosion, deformation, cracks and wind or impact damage.
- Electrical and illumination: check wiring, conduit, junction boxes, grounding, breakers/disconnects, lamps/LED modules, transformers/ballasts and photo controls; test operation and amperage.
- Visibility and sign condition: assess face legibility, graphics, fading, vandalism, obstructions, mounting height, illumination uniformity and photometric performance.
- Safety and code compliance: verify clearances, fire and pedestrian access, load ratings, fall-protection access, NEC/UL markings, permits and local ordinance requirements.
- Documentation and corrective actions: record photos, measurements, defect severity, recommended repairs, priority level, inspector name/date and follow-up schedule.
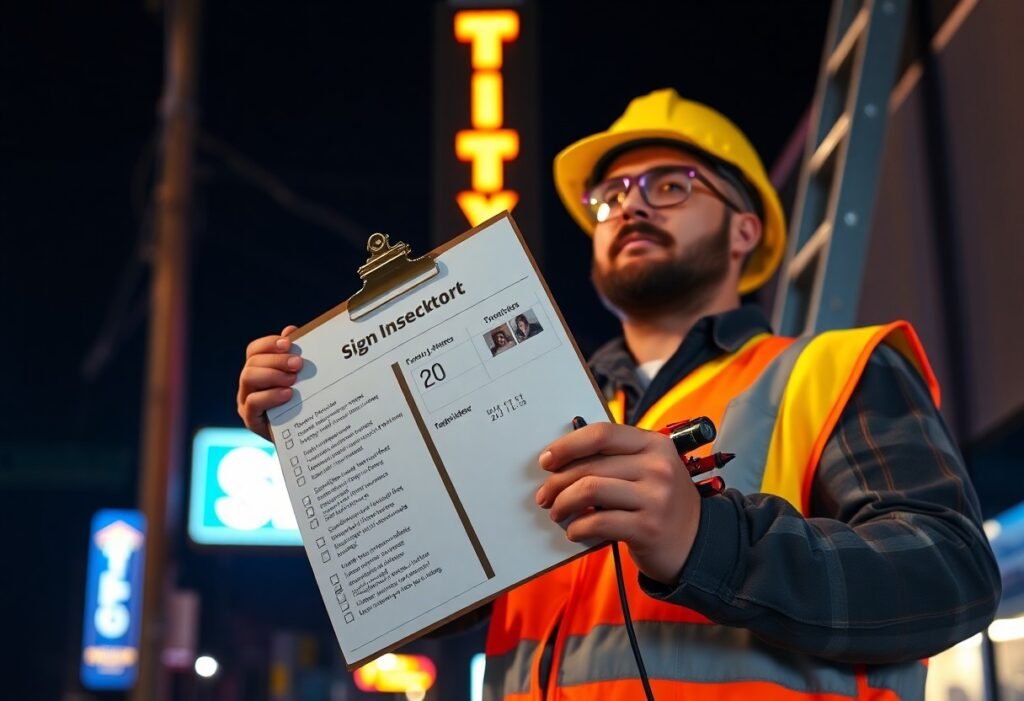
Purpose of a Sign Inspection Checklist
You use the checklist to focus inspections on safety, structural integrity, electrical systems, accessibility and regulatory compliance. It breaks tasks into verifiable items-anchor condition, wiring, luminance, legibility, tactile signage-and lets you document deficiencies, assign corrective actions and track follow-up. Typical practice is annual inspections for permanent signs and every 6 months after storms or for exposed, illuminated installations.
Ensuring Safety
During inspections you verify anchors, brackets and welds for corrosion or fatigue, test fastener torque and perform pull tests as required by manufacturer or code, and inspect wiring insulation and grounding per NEC. You measure clearances over walkways, check for falling-object hazards, and assess LED brightness to prevent glare; after storms you increase inspection frequency to catch wind- or impact-related damage promptly.
Compliance with Regulations
You confirm electrical signs bear UL 48 markings, wiring follows NEC (NFPA 70/Article 600), and tactile signage complies with ADA tactile mounting heights (baseline 48-60 inches). Structural checks reference IBC and ASCE 7 wind-load design (often 90-130 mph regionally), while local ordinances set illumination limits and permit requirements that you must verify against the installed sign.
In practice you request the manufacturer’s installation data, UL listings, permit numbers and as-built drawings, photograph serial and label information, and log inspection reports for 3-7 years per many jurisdictional policies. You also confirm the installer/electrician license and any required dimming or ambient-light sensors on digital signs are operational to meet municipal brightness and curfew rules.
Key Components of a Sign Inspection Checklist
You should cover visual condition, mounting and structural soundness, reflectivity/illumination, location/obstruction, and documentation. Include inspection frequency (monthly to quarterly for high-traffic or coastal sites), corrective-action deadlines, and responsible parties. Use a standardized form and reference resources such as Safety Signs and Symbols Checklist | SafetyCulture Library to align symbols, sizes, and placement with recognized guidelines.
Visual Inspection Items
You verify legibility from typical approach distances (often 50-100 ft for road signs), check for fading, peeling, scratches larger than 1/8 in, graffiti, and insect or bird nesting. Also inspect reflective sheeting performance and test illuminated signs for uniform brightness and burned-out lamps. Log each defect with a photo, severity rating (minor/major), and target repair date so repairs are triaged by risk and visibility impact.
Structural Integrity Assessment
You inspect posts, brackets, anchors, welds and fasteners for corrosion, deformation, cracks, or missing hardware; note tilt exceeding 5° or excessive movement under a 30-second push test. Verify anchor embedment depth against original specs and check for soil erosion around footing. Schedule more frequent checks (every 1-3 months) after storms, collisions or in corrosive environments to prevent failures that could cause hazards or sign loss.
You employ simple field tests and instruments: a torque wrench to confirm fastener tension, a tape measure for anchor depth, a level for tilt, and a hammer sound test to detect delamination. For metal posts consider ultrasonic thickness checks when pitting is visible. Document measurements, threshold breaches, and repairs; require immediate temporary fixes within 24-72 hours for safety risks and permanent correction within a defined SLA (commonly 7-30 days) based on severity.
Compliance with Local Signage Laws
You must verify municipal and state codes during inspections, since many jurisdictions set concrete limits: sign height commonly ranges 20-50 ft, face area often capped between 32-200 sq ft depending on zone, and illumination limits typically fall between 300-800 nits (lower at night). You should check historic-district overlays, sight‑triangle rules at intersections, ADA clearances, and any billboard spacing ordinances to ensure your findings match enforceable standards on the permit and site plan.
Zoning Regulations
Zoning controls the where and how: commercial zones usually permit larger, illuminated signs while residential districts limit area (often 6-32 sq ft) and restrict flashing or digital displays. You will verify setbacks (commonly 5-50 ft), maximum heights per district, frontage-based sign allowances, and separation requirements for off-premise signs-billboard spacing frequently requires 500-1,000 ft between structures along major corridors.
Permitting Requirements
Permits are required for new, replacement, or electrically‑powered signs; you should confirm an approved sign permit, electrical permit, and any conditional-use approvals before documenting compliance. Typical application packages include scaled drawings, site plan, structural details, and a fee (commonly $50-$500); processing times range from 7-30 days, with final inspections scheduled after installation to close the permit.
When applying you must submit stamped structural calculations for larger signs-jurisdictions often require an engineer’s stamp for signs exceeding roughly 25-50 sq ft or with projections beyond 4-6 ft-plus proof of contractor license and insurance. Common reasons for permit denial you’ll note are incomplete drawings, noncompliant setbacks, missing electrical approvals, and failure to meet illumination or historic‑district standards; complex projects can take 2-6 weeks for review, or 3-5 business days if expedited for an extra fee.
Maintenance Checks
During routine maintenance you focus on lighting, surface integrity, fasteners and cleaning records so issues are caught before failure; perform checks every 6 months for high-exposure sites and annually for sheltered signs, log lamp hours and repairs, and compare current readings against baseline measurements to spot degradation patterns and budget for replacements.
Lighting Functionality
You test illumination at night, measure voltage and current at the fixture, verify LED drivers and photocells, and record lux or candela values; expect LED modules to last ~50,000 hours, replace fluorescent/HID at 7,000-20,000 hours, and act if output falls more than 10% or you detect flicker, overheating, or burned connectors.
Surface Condition
You inspect paint, vinyl, and substrate for fading, peeling, scratches and corrosion, checking for blistering or edge lift and noting UV damage; schedule touch-ups when color shift exceeds visible thresholds or when protective coatings show significant loss of gloss or adhesion.
For deeper assessment you use a colorimeter (Delta E >3 often indicates noticeable fade), perform solvent-swab tests on graffiti, measure corrosion pitting (address steel pitting >0.5 mm), and document areas needing recoat or panel replacement; apply UV-stable clear coats every 1-3 years on exposed façades and keep before/after photos to track deterioration.
Documentation and Reporting
Your records should tie every inspection to an asset ID, timestamped photos, GPS coordinates and a standardized report template; storing high-resolution JPEGs plus a PDF summary lets you cross-reference visual evidence with a CSV log for quick analytics. Aim for digital storage with daily backups and searchable metadata so you can filter by sign type, location, or defect code during audits or warranty claims.
Record-Keeping Practices
You should use consistent file naming (e.g., SITE_1234_20251201_INSPECTORJ) and retain records for a defined period-commonly 5-7 years-to support liability and maintenance history. Integrate entries with your CMMS or GIS, include inspection checklists as structured data fields, and log corrective actions, parts used, and labor hours so you can produce KPI reports like time-to-repair and failure rates.
Reporting Findings
You must classify defects by severity (Immediate: 24 hours, High: 7 days, Medium: 30 days, Low: next cycle) and deliver reports with photo evidence, asset IDs, recommended remedy, and cost estimates. Send through your designated channel-email, client portal, or CMMS ticket-and require inspector name, license number, and a completion verification date for each remedial item to close the loop.
For greater clarity, include an escalation matrix describing who gets notified at each severity level and set measurable SLAs; for example, if reflectivity falls below MUTCD thresholds, escalate to maintenance within 14 days and schedule replacement within 30 days. Also track follow-up inspections with before/after photos and a verification code to confirm compliance and enable audit trails.
Frequency of Inspections
You should adopt a layered inspection cadence: monthly visual checks for visible wear, quarterly hands-on inspections for mounts and wiring, and annual full structural and electrical certification. Inspections after installation (within 7 days) and following severe weather (within 48 hours) catch early failures. For high-risk assets like rooftop or highway-facing signs, increase frequency to biweekly or monthly depending on exposure, usage, and local code requirements.
Recommended Inspection Intervals
You should perform monthly visual assessments of faces, illumination, and fasteners; quarterly tactile checks of brackets, anchor bolts, and electrical connections; and an annual engineered structural review including torque testing and corrosion assessment. Digital displays often need monthly firmware and HVAC checks. Always schedule immediate inspections after storms, impacts, or modifications, and document findings with dates, inspector name, and photos.
Special Events and Temporary Signs
You must inspect temporary banners and event signage before installation, daily during multi-day events, and immediately after high winds. Anchor spacing of 3-4 ft for large banners and tie-downs rated for expected gust loads reduces risk. Permits commonly demand an inspection log; provide one to event organizers to show compliance and quick response capability.
For festivals, parades, or pop-up retail, pre-event load calculations and a site-specific plan help you size anchors and guying. Monitor forecasts and set a conservative removal threshold (sustained winds over 25-30 mph). Inspect grommets, stitching, and fasteners each day, photograph condition changes, and coordinate with the event safety officer to remove or reinforce signage within hours if conditions worsen.
To wrap up
Ultimately you should verify structural integrity, mounting hardware, fasteners and corrosion; check illumination, ballast, wiring, grounding and electrical safety; assess visibility, legibility and compliance with permits, zoning and ADA; document defects with photos, measurements and serial numbers; note weather or vandal damage and required repairs; prioritize immediate hazards, schedule maintenance and keep clear, dated inspection records so your signs remain safe, compliant and serviceable.
FAQ
Q: What items are included in a typical sign inspection checklist?
A: A typical checklist covers identification (sign ID, location, owner), visual condition (surface damage, fading, graffiti), structural elements (poles, mounts, anchors, welds, corrosion), electrical/lighting systems (wiring, drivers, ballasts, fuses, grounding, timers, photocells), illumination performance (uniformity, brightness, bulb/LED condition), visibility and legibility (letter height, contrast, obstructions, sightlines), clearances and setbacks, foundation and anchorage integrity, safety features (guards, access ladders, fall protection), regulatory compliance (permits, codes, ADA), maintenance history, photos, measurements, inspector name/date, and recommended actions with priority ratings.
Q: How are structural and mounting components inspected?
A: Inspectors visually check poles, brackets, base plates, anchor bolts, and welds for cracks, deformation, bending, corrosion, pitting, loose or missing fasteners, and paint/coat failure; measure plumb and alignment; verify base/foundation condition and concrete cracking; test torque on critical fasteners where required; note signs of fatigue or impact damage; recommend nondestructive testing or engineering review if hidden defects or load-capacity concerns are present.
Q: What electrical and lighting checks should be performed during an inspection?
A: Verify power disconnects and safety labeling, test voltage and continuity, inspect wiring insulation and connections, check grounding and bonding, examine transformers/ballasts/LED drivers and replace failing components, confirm fuse and breaker sizing, evaluate photocells/timers and control circuits, measure current draw and lamp output, inspect access panels and weather seals, and document any code violations or immediate shock/fire hazards.
Q: How do inspectors assess visibility, legibility, and site placement of a sign?
A: Assess sightlines from intended viewer positions, measure letter height and spacing against recommended minimums for distance, evaluate contrast and reflectivity for day/night legibility, check illumination uniformity and for glare or light spill onto roadways, identify obstructions (vegetation, poles, other signs), confirm mounting height and angle are correct for target audience, and consider surrounding traffic speeds and viewing distances when rating effectiveness.
Q: What documentation and reporting should the inspection deliver?
A: Deliver a standardized report or checklist with sign ID and GPS coordinates, annotated photos of deficiencies, condition ratings for each component, measurements and test readings, code/permit references, prioritized repair recommendations with estimated timelines and costs, inspector name and credentials, inspection date, and a suggested reinspection or follow-up schedule to track corrective actions.