
The way you display your menu shapes how customers order and how much they spend. Today, static paper menus and chalkboards are being replaced by sleek, glowing screens. When you design digital menu boards, you’re not just showing your food — you’re creating an experience that influences buying decisions.
Digital menu boards can highlight promotions, upsell combos, and give your business a polished, modern look. They’re one of the fastest ways to boost sales while improving customer satisfaction.
Why Digital Menu Boards Are Changing the Game
Digital menu boards are quickly becoming the standard in restaurants, cafés, food trucks, and even corporate dining halls. Why? Because they grab attention, are easy to update, and deliver results.
Unlike printed menus, digital boards let you update prices, photos, or promotions instantly. You can change content for breakfast, lunch, and dinner without printing a single sheet. They also help reduce wait times by making it easier for customers to choose.
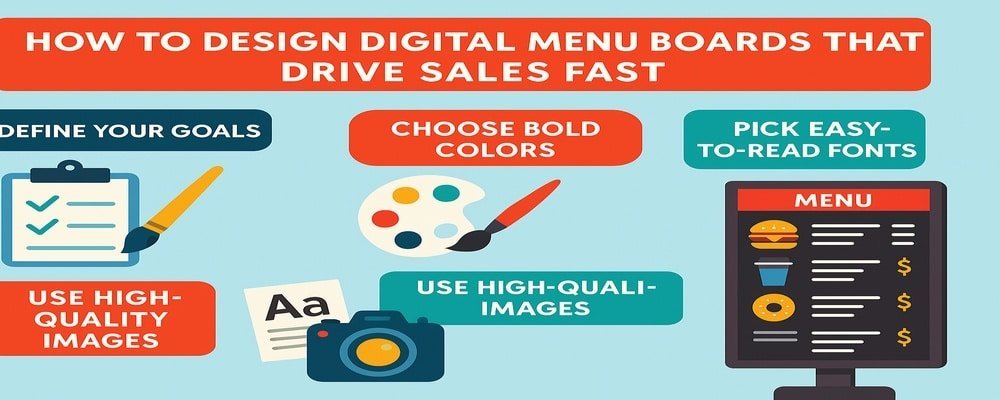
Key Takeaways
- Digital menu boards improve sales and speed up service.
- They’re easy to update with new items and specials.
- Bright colors and high-quality images grab customer attention.
- Clear fonts and layouts make menus easy to read.
- Professional design ensures a polished, profitable look.
Step 1 — Define Your Goals Before You Design Digital Menu Boards
Every great menu design starts with a clear goal. Do you want to increase sales of high-margin items? Highlight limited-time offers? Or create a smoother ordering process?
For example, a coffee shop may use digital boards to feature seasonal drinks, while a burger restaurant might display meal combos to boost average ticket size.
Tip: Write one main goal for your board before you begin. If you try to achieve too many things at once, your message can get lost.
Step 2 — Choose Bold Colors and High-Contrast Themes
Color is a silent salesperson. Bright reds and yellows create energy and urgency, while greens suggest freshness and health. The right colors don’t just look good — they can influence what customers order.
When you design digital menu boards, always think about readability. High contrast, like white text on a dark background, ensures customers see your message clearly.
Tip: Test your color scheme on your actual screen. Colors that look good on a computer may not display the same way on digital boards.
Step 3 — Pick Fonts That Are Easy to Read on Digital Screens
Fonts matter more than most people think. The wrong font can confuse customers and slow down the ordering process. Sans-serif fonts like Helvetica, Arial, or Roboto are simple, modern, and easy to read quickly.
Keep your text hierarchy clear: big fonts for categories, medium for items, and smaller for prices. This structure helps customers scan and decide faster.
Tip: Avoid script or decorative fonts. They may look stylish up close but are hard to read from a distance.
Step 4 — Use High-Quality Images and Videos in Digital Menu Boards
Customers often “eat with their eyes.” Mouthwatering images of your food can make customers crave items they hadn’t planned to order. High-quality images create trust and make your brand feel premium.
Short videos or motion graphics add extra appeal. For example, showing steam rising from a hot pizza can be more powerful than text alone.
Tip: Always use professional photos. Blurry or pixelated images will hurt your brand and reduce customer confidence.
Step 5 — Organize Layout for Easy Ordering
Cluttered boards confuse customers. When designing digital menu boards, group items into clear categories like breakfast, lunch, drinks, and desserts. Put your best-selling or highest-margin items front and center.
Make sure prices are easy to find. Customers don’t want to squint to see what something costs.
Tip: Keep your layout simple. Too many items on one screen can overwhelm customers and slow down lines.
Step 6 — Add Motion and Dynamic Content Wisely
Digital menu boards shine because they can move. Adding scrolling promotions or animated specials helps grab attention. But don’t overdo it. Too much movement can distract instead of help.
Use dynamic content to highlight limited-time deals, countdown timers, or combo meals. Changing visuals also keeps regular customers engaged.
Tip: Rotate content every few minutes to catch the eye without overwhelming the viewer.
Step 7 — Test Placement and Screen Size for Maximum Visibility
The best design won’t work if your screen isn’t placed correctly. Customers need to see the menu easily while standing in line.
Large spaces may require multiple screens. Smaller shops might only need one. Brightness settings should be adjusted for your location — brighter for sunlit areas and softer for indoor, cozy spaces.
Tip: Walk through your store as if you’re a customer. If you can’t read the menu easily, neither can they.
Common Mistakes to Avoid When You Design Digital Menu Boards
Even great concepts can fail if you miss the basics. Avoid these mistakes:
- Too much text: Customers won’t stop to read paragraphs.
- Tiny fonts: Hard to see from a distance.
- Poor contrast: Makes reading difficult.
- Low-quality images: Cheapens your brand.
- No updates: Outdated content looks unprofessional.
Tip: Schedule a regular review of your boards — weekly or monthly — to keep your menu accurate and fresh.
Professional vs. DIY — Which Is Best for Designing Digital Menu Boards?
DIY digital boards are possible with easy-to-use software, but professional design takes them to the next level. A pro ensures your boards are eye-catching, branded, and designed to upsell.
DIY is fine for startups or small businesses, but investing in professional help often pays off with increased sales and a better customer experience.
Tip: If starting DIY, use professional templates to ensure your board looks polished.
Real Examples of Digital Menu Boards That Drive Sales Fast
- A fast-food chain added photos of combo meals and saw a 15% increase in upsells.
- A café promoted seasonal lattes with animations and doubled sales during the campaign.
- A movie theater used rotating content to highlight premium snacks, boosting concession revenue.
These examples prove that when you design digital menu boards with strategy in mind, the results show quickly.
Bright Results — Why You Should Design Digital Menu Boards Now
Digital menu boards are more than screens — they’re powerful sales tools. They help customers make decisions faster, encourage upsells, and give your business a modern, professional look.
If you want to boost revenue, speed up service, and stand out from competitors, now is the time to design digital menu boards that work as hard as you do.
10 Benefits of Design Digital Menu Boards
- Increase sales by highlighting specials and combos.
- Create a modern, professional brand image.
- Easy to update with new items and prices.
- Reduce wait times with faster ordering.
- Showcase high-quality images and videos.
- Cut printing costs compared to traditional menus.
- Customize content by time of day.
- Promote high-margin items more effectively.
- Attract attention with bright, dynamic displays.
- Improve customer satisfaction and repeat visits.
FAQs About Design Digital Menu Boards
1. What software should I use to design digital menu boards?
Popular platforms like NoviSign, Rise Vision, and ScreenCloud make it easy to create and manage digital menu boards.
2. How often should I update my design digital menu boards?
At least monthly, or whenever you add new items, change prices, or launch promotions.
3. Do design digital menu boards really increase sales?
Yes. Businesses see higher sales because boards highlight items and encourage upsells.
4. How many screens do I need when I design digital menu boards?
It depends on your space. Small cafés may need one, while large restaurants often use three or more.
5. Can I design digital menu boards without hiring a professional?
Yes, but professional designs ensure your board is optimized for readability and sales impact.