
Sign installation begins with a site survey and template to align the cabinet; you review permits and power access, then the installer secures the mounting frame, anchors the cabinet, and connects internal lighting modules and wiring. You can expect weatherproofing, conduit routing, ballast or LED driver installation, and final testing and adjustment for illumination and alignment to ensure safe, long-lasting operation.
Key Takeaways:
- Planning and permitting: confirm design, structural engineering, electrical requirements and obtain local permits before fabrication.
- Site survey and mounting preparation: measure precisely, assess wall or pole structure, install backer or mounting frame and appropriate anchors.
- Fabrication and electrical prep: assemble the cabinet, install LED modules/drivers and access panels, and prepare conduit and junction boxes for safe connections.
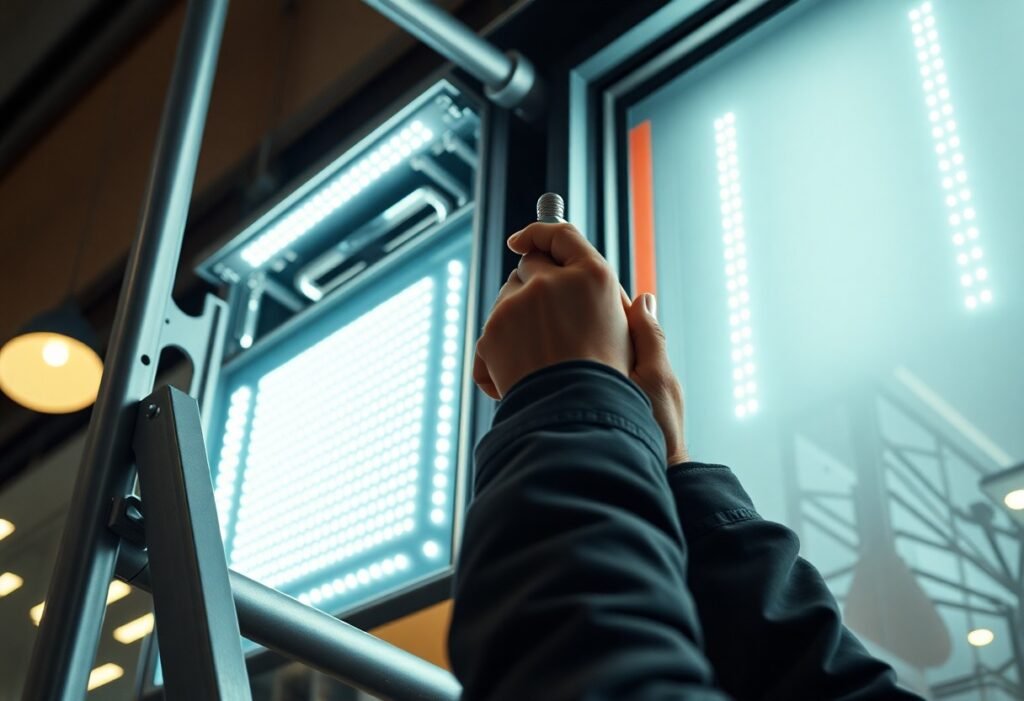
- Installation and wiring: hoist and secure the cabinet, run conduit, make wiring connections to the breaker, ground the system and test lighting and controls.
- Sealing, inspection and maintenance: weatherproof seams, perform final inspection and label circuits, and schedule routine checks for LEDs, wiring and seals.
Understanding Cabinet Signs
Definition and Types
You’ll see cabinet signs as shallow box assemblies-typically 6-18 inches deep-with aluminum or steel returns and acrylic or polycarbonate faces; LEDs are commonly used for internal illumination, cutting energy use by 40-70% versus older fluorescent systems. They work for storefronts, malls and roadside IDs, and installers use welded frames or anchor rails for repeatable alignment. This aids long-term weather resistance and consistent light output.
- Single-face (wall-mounted)
- Double-face / blade (projecting)
- Front-lit illuminated
- Back-lit / halo (reverse illuminated)
- Hybrid channel-face cabinets
| Single-face | Wall-mounted, 6-10″ depth; one-direction visibility |
| Double-face | Projecting/blade style, 6-12″ depth; visible both directions |
| Illuminated (LED) | Internal LED modules; typical 40-70% energy savings |
| Non-illuminated | Printed vinyl or painted faces; lower cost for daytime sites |
| Channel-face cabinet | Cutout letters or logos in face, allows halo or mixed-material effects |
Advantages of Cabinet Signs
You gain strong day-and-night visibility-illuminated cabinets can extend branded presence after dark and increase impression rates; modular faces let you change graphics in 30-90 minutes, so you update promotions quickly and keep messaging current.
Installation is often straightforward: a standard single-face cabinet typically mounts in 2-4 hours with two technicians when power and anchors are prepped, and LED retrofit kits reduce maintenance intervals to 5-10 years for light modules. You’ll also see predictable budgeting: initial costs vary by size and materials, but lifecycle savings from LEDs and replaceable faces often deliver payback within 2-5 years for high-traffic locations.
Preparing for Installation
You should confirm delivery windows, site access, and electrical capacity before arrival, and verify permits and zoning requirements with local authorities; consult the Three Steps to Sign Fabrication for fabrication lead times so your installation date aligns with cabinet readiness, and schedule any required traffic control or scaffold permits at least 7-14 days in advance.
Site Assessment and Planning
Start by locating structural supports-studs are typically 16″ on center in wood-frame walls-and measure clearances for a cabinet that can range from 24″ to 96″ wide; evaluate wind exposure, line-of-sight for visibility at 50-150 ft, and confirm a 120/277V feed or a dedicated circuit for illuminated cabinets while noting any required municipal permits or HOA approvals.
Required Tools and Materials
Bring an 18V cordless drill, 1/2″ impact driver, torque wrench, stud finder, multimeter, level, masonry bits, and a set of anchors (wedge anchors for concrete, toggle bolts for hollow walls); pack stainless steel fasteners, silicone sealant, weatherproof conduit, and an access-rated lift or scaffold sized for the cabinet dimensions and site constraints.
For hardware selection match anchor type to substrate and load: wedge or epoxy anchors for poured concrete, sleeve anchors for CMU, and heavy-duty toggles for hollow walls; specify AISI 316 stainless in coastal sites, gasketed junction boxes for IP65 protection, and LED drivers with 120-277V compatibility; consult manufacturer torque specs for fastener preload and keep spare fasteners and a small repair kit on site.
Installation Process
You begin with a site survey to confirm substrate, clearances and utility access, then mark mounting points and run power conduits. Technicians typically follow a pre-cut mounting template, secure the cabinet, wire the driver, seal penetrations and test lighting; a single-face 4’x6′ cabinet on masonry usually takes 2-4 hours with two people. Permits and an electrical inspection are often required before power-on.
Mounting the Cabinet Sign
You select anchoring based on substrate: use 3/8″ wedge anchors for concrete, expansion anchors or through-bolts for CMU, and toggle bolts or a steel backing plate for hollow walls. Position mounting points every 24-36″ depending on weight-an aluminum 4’x6′ cabinet often weighs 60-120 lbs-level the cabinet, use stainless hardware to resist corrosion, and employ a scissor lift or crane for installs above 12 ft.
Electrical Considerations
You size the circuit and driver to the cabinet’s load: most LED cabinets draw 60-200W (≈0.5-2A at 120V). Follow NEC Article 600 for sign wiring, install a weatherproof junction box and wet-location-rated driver, and size breakers to at least 125% of continuous load. Grounding, surge protection and clear labeling of the disconnect are required; coordinate with a licensed electrician for permits and final inspection.
For more detail, place the LED driver inside the cabinet where ventilation prevents overheating and allow 2-3″ clearance around it; mount the service disconnect within sight of the sign per local code. Minimize low-voltage run length to reduce voltage drop-keep runs under 25-50 ft or upsize conductors (use 12 AWG or larger for longer runs). Add a Type 2 surge protector and choose dimming/controls (0-10V, DMX) compatible with the driver for performance and longevity.
Maintenance and Repairs
You should plan scheduled inspections and quick-response repairs: perform annual electrical checks of drivers and conduit, torque-mount hardware every six months to specified Nm values, inspect seals after storms and replace gaskets within 48 hours if compromised, and log lumen output – replace LED modules when output drops over 30% or after 5-7 years to maintain brand visibility and meet photometric specs.
Routine Maintenance Tips
For ongoing upkeep, run quarterly visual inspections and an annual electrical test, clean acrylic faces with a pH‑neutral detergent and a soft cloth, and keep spare drivers and fasteners on site to cut downtime. Any damaged seals should be resealed within 48 hours to prevent water ingress.
- Quarterly: check lens, fasteners, and photocell operation
- Every 6 months: torque mounts to manufacturer spec (e.g., 12-25 Nm)
- Annually: test drivers, conduit, and GFCI circuits
- After storms: inspect for moisture, corrosion, and loose wiring
Repairing Common Issues
When you find dimming, flicker, or outages start by isolating power and swapping the driver with a known-good unit – driver failures account for ~60% of electrical repairs; cracked acrylics and water ingress are common non-electrical faults and usually require panel replacement or resealing to IP66 standards.
For more complex fixes, expect a driver replacement to take 30-60 minutes and cost $100-$300 in parts, while full module swaps can be plug-and-play or need minor soldering; for moisture events, dry the cabinet with a dehumidifier 24-72 hours, inspect PCBs for corrosion, and log repairs with photos and serials to support warranty claims.
Sign Regulations and Permits
When planning a cabinet sign, you must navigate local zoning, electrical, and historic-district rules. Municipal codes can dictate maximum sign area, mounting height, illumination levels and required setbacks; for example many U.S. cities cap single-wall cabinets between 32-100 ft² and heights between 10-20 ft. Also factor in HOA restrictions and FAA notifications near airports. You should build permit lead times (commonly 2-6 weeks) and inspection windows into your installation schedule to avoid costly hold-ups.
Local Signage Laws
Your municipal code typically covers sign type, size, materials, and illumination; downtown commercial zones often allow larger illuminated cabinets than residential areas. For example, a central business district might tie allowable sign area to storefront width, while residential zones may prohibit illuminated cabinets outright. You must consult the city sign chapter, zoning map, and any historic-overlay or design guidelines to verify setbacks, mounting limits, and allowable lighting before ordering fabrication.
Obtaining Necessary Permits
You will usually need both a sign permit and an electrical permit for illuminated cabinets; fees range from roughly $50 to several hundred dollars depending on project valuation. Submittals commonly require scaled elevation drawings, mounting details, structural calculations for anchors, a site plan showing setbacks, and property-owner authorization. Permit review times typically run 2-8 weeks, with expedited review available in some jurisdictions for an extra fee.
Expect at least two mandatory inspections: a structural inspection to verify anchors and mounting integrity, and an electrical inspection for conduit, grounding and LED drivers; failed inspections often result from incorrect fasteners or unlisted components. If the sign is in a historic district or exceeds code limits, you’ll also need design-review approval or a variance-these hearings can add 4-12 weeks and may require material samples or mockups. Keep organized submittals and track revisions to minimize delays.
Final Words
Considering all points, you begin with a site survey and design approval, then installers secure mounting frames, run electrical and signage wiring, install the illuminated or non-illuminated cabinet, connect and seal components, and complete testing and permits to ensure code compliance; proper planning and experienced technicians ensure reliable, long-lasting results for your storefront.
FAQ
Q: What is a cabinet sign and how does cabinet sign installation differ from other sign types?
A: A cabinet sign is a box-style sign with a framed enclosure (the cabinet), a visible face (often acrylic or aluminum with graphics), and internal illumination when required. Installation differs from channel letters or flat panels because cabinet signs are larger, require a support frame or mounting rails, and often need a recessed or surface-mounted electrical feed. Fabrication tolerances, mounting anchorage, and face attachment methods are specific to cabinets and typically demand more coordination with building structure and electrical systems.
Q: What are the typical steps in the cabinet sign installation process?
A: Standard steps include: 1) Site survey and measurements to locate mounting points and routing for power; 2) Engineering review for structural loads and wind ratings; 3) Permitting and landlord approvals; 4) Fabrication of the cabinet, face, and mounting hardware; 5) Pre-fit or mock-up of the unit if required; 6) On-site mounting of frame or rails, secure anchoring to substrate, and mechanical attachment of the cabinet; 7) Electrical connection by a licensed electrician, installing drivers, photocells or timers; 8) Installing faces, trim, and weather seals; 9) Power-up, testing, and final adjustments; 10) Documentation handoff and photographic proof of compliance. Depending on scope, the timeline can range from a single day for a simple wall-mounted cabinet to several days for rooftop or pole-mounted systems plus permitting time.
Q: What permits, codes, and site preparations are typically required before installation?
A: Required items usually include a local sign permit and an electrical permit, plus compliance with municipal sign codes (size, height, illumination levels, and setback). Structural calculations or stamped engineering may be required for wind and dead loads, especially for rooftop or large cabinets. Site prep often means verifying substrate integrity (masonry, metal, wood), installing backing plates or support framing, ensuring clearances from windows and egress paths, and obtaining landlord or HOA written approval. Allow additional lead time for historical district reviews or utility easements if applicable.
Q: How is the electrical work handled for illuminated cabinet signs and what safety measures are used?
A: Electrical work should be performed by a licensed electrician and typically includes running a dedicated circuit to a junction box near the cabinet, installing LED drivers or ballasts inside or in weatherproof enclosures, and adding a disconnect or fused switch per code. Controls often use a photocell, timer, or building automation tie-in. Conduit, weatherproof connectors, and sealed cable penetrations are used to prevent moisture ingress. Proper grounding, overcurrent protection, and labeling are required, and power must be shut off before any service. For rooftop or elevated installs, lockable disconnects and service platforms or safe access routes are common safety measures.
Q: What ongoing maintenance and troubleshooting should be planned after cabinet sign installation?
A: Maintenance includes periodic cleaning of faces, inspecting and resealing seams and penetrations, checking fasteners and mounting integrity, verifying LED output and driver performance, and replacing failed modules or broken acrylic panels. Common issues: dim or flickering sections (often failed drivers or LED strips), water ingress (failed seals or venting problems), and loose hardware. Schedule inspections at least annually and after severe weather. For repairs, isolate power, use proper fall protection when working at height, and follow manufacturer guidelines for replacement parts and warranty procedures.