
Most sign permit requirements vary by city and zoning, so you need to confirm your local codes, application steps, fees, and timelines before ordering fabrication; you should assess whether permits are needed for size, location, illumination, or historic districts, prepare your required drawings and site plans, hire licensed contractors when required, and track inspections to avoid costly removals or delays.
Key Takeaways:
- Check local codes and zoning before planning: sign districts, size/height limits, illumination rules, historic or HOA restrictions affect what’s allowed.
- Determine the permit type and gather required documents: permanent vs. temporary, awning/projecting/monument classifications, site plan, scaled drawings, photos, and owner consent.
- Understand the submission process, fees, and timeline: application fees, plan review time, possible resubmittals, and required inspections.
- Use licensed professionals and obtain related permits: hire a licensed sign installer and electrician for illuminated signs and submit structural/attachment engineering when needed.
- Anticipate compliance checks and consequences: noncompliant signs can be fined or removed; plan for revisions, appeals, and ongoing maintenance obligations.
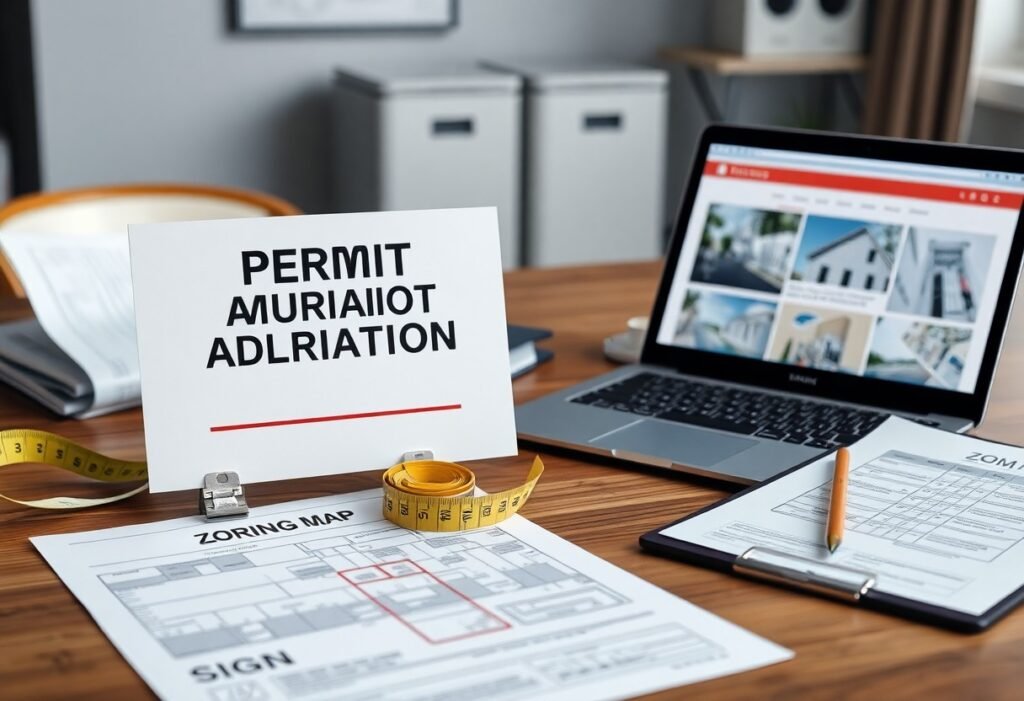
Types of Sign Permits
You’ll encounter distinct permit categories-temporary, permanent, illuminated/digital, directional, and historic-that determine application content, timelines, and costs; for example, banners are often capped at 30-90 days while wall signs may be limited to 25-100 sq ft by zone. Cities commonly require electrical plans for illuminated signs and stamped drawings for larger freestanding structures. Perceiving how each category maps to your site and schedule speeds approval.
- Temporary: short-term banners, A-frames, event signs
- Permanent: wall-mounted, monument, pylon signs with structural/elec requirements
- Illuminated/Digital: LED or electronic message centers with brightness and timing rules
- Directional/Wayfinding: on-site directional signs and parking graphics
- Historic/HOA: special review, design restrictions, and material limits
| Temporary | Duration limits (7-90 days), frequency caps (1-4/yr), simple site sketch |
| Permanent | Size/height limits, structural drawings, electrical permits for illumination |
| Illuminated/Digital | Brightness/curfew rules, electrical hookup, sometimes conditional use |
| Directional/Wayfinding | On-site only, smaller size limits, often exempt from fees |
| Historic/HOA | Design review, material restrictions, longer approval timelines |
Temporary Sign Permits
Temporary permits cover banners, sandwich boards, and event signage; many jurisdictions cap duration at 7-90 days and limit how often you can reapply-common practice is 1-4 permits per year. You should include exact display dates, placement sketches, and applicant contact info; failing to show removal dates often triggers fines or denial, especially in commercial corridors.
Permanent Sign Permits
Permanent permits require detailed plans: elevations, dimensions, foundation details, and electrical schematics for illuminated signs; municipalities commonly ask for stamped structural calculations if the sign exceeds about 10 ft in height or 50 sq ft in area. You should expect review times from 2-8 weeks and variable fees tied to sign size and scope.
For deeper compliance, coordinate with utility locates and check for easements and sight-triangle setbacks-one real example involved a 20-ft retail pylon delayed four weeks because its footing conflicted with a 5-ft utility easement; submitting relocated footings and stamped engineering resolved the issue. You must also plan for foundation inspections and possible maintenance bonds as part of the permanent permit conditions.
Factors to Consider When Applying
When you apply, check zoning use, sign type, electrical needs and timeline; many cities cap sign area to 32-200 sq ft, set heights at 6-25 ft and require 2-8 week reviews. You should assemble drawings, site plans and structural calcs if the sign exceeds 150 lb or projects over the sidewalk. Consult this Signage Permit: Guidance For Businesses. This helps you prioritize documents and avoid resubmittals.
- Zoning district limits (area/height)
- Historic district or design review time
- Electrical, mounting and wind-load requirements
- Permit fees, timelines (commonly 2-8 weeks) and renewals
- Required drawings: site plan, elevations, structural details
Local Regulations
You must consult your municipal code and zoning map: downtown B‑2 districts often limit signs to 10% of façade or 1 sq ft per linear foot of storefront, while residential zones may prohibit commercial signs. Historic and overlay districts typically require a design-review board and can add 4-6 weeks to approval; many cities publish checklists and fee schedules online to speed your submission.
Sign Size and Placement
Measure the building elevation and calculate allowable sign area-jurisdictions usually use a façade percentage (10-20%) or fixed caps like 50-200 sq ft. You should maintain 1-3 ft sidewalk clearance for projecting signs, keep 10-15 ft from curb cuts for sight lines, and avoid obscuring fire escapes, exits or required access ways.
For freestanding signs expect setbacks of 5-20 ft from property lines and maximum heights of 6-25 ft depending on zoning; illuminated signs need electrical permits and sometimes photometric plans limiting light near residences. Use the bounding‑box method to calculate sign face area and include mounting details and wind‑load calcs for signs over 100 sq ft or heavier than 150 lb.
Tips for a Successful Application
Use a pre-application meeting to clarify local expectations, submit dimensioned plans (scale 1/4″=1′), include site and elevation views, provide electrical schematics and photometric data for illuminated signs, and confirm fee and timeline estimates (many reviews take 2-8 weeks). If your sign exceeds common thresholds (for example, 50-200 sq ft or over 10 ft tall), obtain structural calculations and a licensed engineer stamp ahead of submission. Knowing
- Schedule pre-submittal review with planning staff
- Provide scaled site plan and elevation drawings
- Include manufacturer cut sheets and electrical diagrams
- Obtain engineer stamp for large/unsupported signs
- Pay fees and set realistic 2-8 week review expectations
Accurate Documentation
You must supply complete, legible plans: scaled site plan (1/4″=1′ typical), elevations showing height and setback, materials and finish samples, wiring diagrams, load and wind calculations for signs over ~50 sq ft, and property owner authorization if you’re a tenant. Include contractor license and certificate of insurance to avoid intake rejection, and label revisions clearly when you resubmit so reviewers can verify changes quickly.
Understanding Approval Processes
Permit review usually follows intake, zoning check, building/structural review, electrical review, and any historic/HOA review; each can add 1-3 weeks. You may face administrative corrections or a request for variance-public notice or hearings can add 10-21 days. Track submission IDs and use the online portal to monitor status and response times so you can plan installation and inspection windows.
When you receive corrections, respond with a point-by-point memo and revised drawings that highlight changes (cloud or color-code revisions). Provide test calculations, product cut sheets, and stamped engineering where requested; doing so often shortens subsequent review cycles. In one example, a storefront owner reduced review time from six to two weeks by holding a pre-submittal meeting, supplying photometric data up front, and addressing all planner comments in a single resubmission.
Step-by-Step Application Process
Start by mapping required documents against the local checklist, then assemble scaled drawings (1/4″=1′), site photos, mounting details and electrical specs; you’ll typically pay a fee ($50-$500) and expect a 2-8 week plan review where cities may request revisions or additional engineering information.
Application Steps
| Step | What to include / Example |
| Pre-application | Attend a meeting to confirm zoning, sign district limits and submittal checklist; note setbacks and max area (e.g., 32-200 sq ft). |
| Prepare drawings | Dimensioned elevations (scale 1/4″=1′), site plan, attachment details, material and illumination specs, contractor license. |
| Submit | Use the city portal or counter, include owner/tenant authorization, pay fee ($50-$500) and obtain a tracking number. |
| Review & revisions | Plan review often takes 2-8 weeks; respond to corrections within 10-30 days with revised drawings or engineer’s letters. |
| Inspections & final approval | Schedule electrical and mounting inspections; final sign-off issued after passed inspections and any outstanding fees paid. |
Preparing Your Application
Gather a site plan, scaled elevations (1/4″=1′), material callouts, structural attachments and lighting diagrams, plus proof of property control and a contractor’s license; include calculations for sign area and wind loads if over 200 sq ft, and anticipate engineering stamps for rooftop or pole-mounted signs.
Submitting and Following Up
File through the city’s online portal or at the permit counter, attach all required PDFs, pay the fee, and note the tracking number; expect a review window (commonly 2-6 weeks) and monitor status weekly so you can reply to redlines within the requested 10-30 day timeframe.
If the reviewer issues corrections, revise drawings with clouded changes and a response letter, then resubmit quickly-many jurisdictions close correction cycles after 3 months. You should also track separate electrical or building permits (contractors often pull those), schedule inspections immediately after install, and keep correspondence timestamps; for example, a retail storefront sign in Denver cleared plan review in 14 days after one revision, while similar jobs in larger cities like Los Angeles can take 30-60 days, so build those ranges into your project timeline.
Pros and Cons of Obtaining Sign Permits
You’ll weigh increased visibility and legal protection against costs and timing: permit fees often range $50-$500, reviews commonly take 1-8 weeks, and compliant signs avoid removal orders or fines that in some jurisdictions exceed $500 per violation.
| Pros | Cons |
|---|---|
| Legal protection (avoids fines/removal) | Permit fees ($50-$500 typical) |
| Access to electrical inspection/approval | Application delays (1-8 weeks typical) |
| Better community acceptance and fewer complaints | Design restrictions (size, height, illumination) |
| Maintains property value and resale clarity | Possible denial requiring redesign |
| Standardized safety and installation requirements | Additional inspections and recurring renewals |
| Eligibility for façade grants or BID programs | HOA or historic-district conflicts |
| Clear record for future modifications | Upfront design/drafting costs ($200-$1,500) |
| Reduces liability risk for electrical/structural failure | Temporary signage often restricted or time-limited |
Benefits of Compliance
By following permit rules you protect your investment and avoid enforcement: compliant signs typically pass electrical and structural inspections, qualify for municipal programs, and prevent costly removal-many businesses report avoiding fines or rebuilds that can exceed $2,000 in time and materials.
Potential Drawbacks
Applying can slow projects and add costs, with review times of 1-8 weeks and design fees of a few hundred to over a thousand dollars; zoning or historic overlays may force size or style changes that reduce expected visibility.
When timelines are tight, delays matter: an 8-week review plus required engineering can push an opening date, and a denied application may require redesigns costing $200-$1,500 or more; in historic districts you can expect additional commissions and review cycles that extend approvals by months, so factor these risks into your launch schedule and budget.
Common Mistakes to Avoid
Many applicants underestimate the paperwork and coordination required; common missteps-missing site plans, incorrect dimensions, or undated contractor signatures-can add 4-8 weeks to approval and incur resubmission fees of $50-$300. You should track deadlines, maintain a checklist, and budget for inspections and potential removal orders if noncompliant.
Ignoring Local Codes
When you ignore local zoning, you risk immediate stops: setbacks, height limits, illumination rules, and historic-district overlays vary widely-wall signs often cap at 8-15 feet, while freestanding signs may be restricted to 20-30 feet. Cities frequently issue removal orders within 30 days or fines from $100-$1,000; always verify overlay maps and the exact code section before fabrication.
Poor Communication with Authorities
Failing to communicate with the permitting office leads to avoidable delays-skipping a pre-application meeting or not clarifying required documents typically triggers 2-3 revision cycles. You should identify the planner, use the city’s online portal when available, and expect response windows of 7-21 days; asking early about inspection scheduling prevents last-minute hold-ups.
Provide complete submittals: labeled site plan, scaled elevations, lighting specs (lumens/wattage), attachment details, and an engineer’s stamp when structural alterations exceed local thresholds. For example, supplying stamped anchor calculations once saved a retailer six weeks by avoiding a mandated structural review. Keep a single point of contact and log every call and email for faster resolution.
Summing up
Ultimately you need to follow local codes, verify zoning, prepare accurate drawings, submit complete applications, factor in timelines and fees, and communicate with permitting officials to avoid delays. As a beginner, you should budget for inspections, seek professional help when designs or regulations are complex, and track renewals or changes so your signage remains compliant and effective for your business.
FAQ
Q: What is a sign permit and when do I need one?
A: A sign permit is a formal approval from your local building or planning department that lets you install, alter, or replace signs. Permits are typically required for new signs, changes to size, location, structure, or illumination, and for wall-mounted, freestanding, or roof signs; some municipalities also require permits for temporary banners beyond a short display period. Operating without a permit can lead to fines, orders to remove or modify the sign, or delays when selling or leasing the property.
Q: How do I find the specific sign regulations for my area?
A: Start with your city or county planning and building department website to access the sign code, zoning maps, and permit application forms; many jurisdictions publish sign standards, setback rules, height limits, and allowable sign types online. If the code language is unclear, request a pre-application meeting or contact a planner for clarification, and check for overlapping rules from historic districts, business improvement areas, or homeowner associations that may impose additional restrictions.
Q: What documents and drawings are usually required for a sign permit application?
A: Typical requirements include a completed permit application, a scaled site plan showing sign location relative to property lines and structures, elevation drawings with dimensions and materials, mounting and attachment details, electrical plans for illuminated signs, structural calculations for large or freestanding signs, photos of the existing facade or proposed location, proof of property ownership or a lease authorization, and contractor license information where applicable.
Q: What should I expect about processing time, fees, and inspections?
A: Review times vary by jurisdiction and complexity-from a few days for simple temporary signs to several weeks for structural or variance requests; filing a complete application with clear drawings speeds review. Fees depend on sign type and valuation and may include separate electrical or structural review charges. Inspections commonly required include electrical hookup, foundation or anchorage checks, and a final inspection; a permit card or approved plans may need to be posted on site during work.
Q: What practical tips help beginners avoid delays or denials?
A: Verify zoning and sign code limits before designing the sign, secure any needed landlord or HOA approvals, hire a licensed sign contractor or structural engineer when the sign is large or illuminated, provide thorough and accurate plans to reduce revision rounds, allow extra time if a variance or historic review is likely, and keep records of approvals, permits, and inspections to simplify future maintenance or transfers.